You definitely want to help out people in need, while you take out the bad guys in Baldur's Gate 3. This dilemma is once again presented during the third act, when a Wizard asks you to bring a source of immortality. Our guide discusses whether you should side with the Nightsong or Lorroakan in Baldur's Gate 3. We also talk about a particular legendary weapon that you can acquire. Likewise, please be aware that this article contains spoilers.
Should You Side With Nightsong or Lorroakan in Baldur's Gate 3
The conclusion of the Baldur's Gate 3 Nightsong arc happens once you reach the Lower City during the third act. You're told that a Wizard named Lorroakan is looking for her, and you have to decide what to do. Here's a quick summary:
- The Nightsong, Dame Aylin, plays a pivotal role during the game's second chapter. Upon reaching her prison, you have to make an important choice on whether to save or kill her.
- Keep her alive so as to ensure the survival of other characters, as well as a better storyline arc for Shadowheart.
- If she also survives the battle against Ketheric Thorm, she'll stay in your camp to provide the continuation of Shadowheart's quest.
Where to Find Lorroakan in Sorcerous Sundries
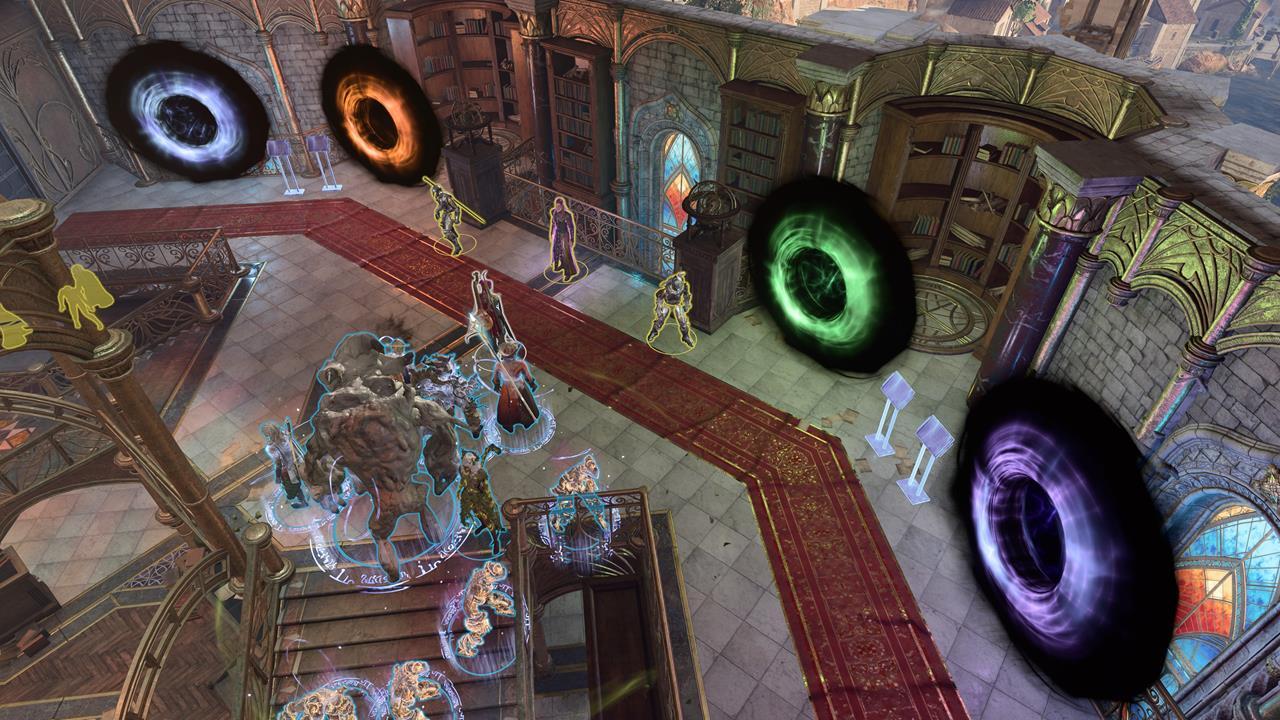
Upon reaching the Lower City, you can visit the Sorcerous Sundries shop. It happens to have a vault filled with ancient tomes, including a couple that hold immense power. As for Lorroakan, you'll find his projection on the second floor. Tell it about the Nightsong, and you'll be able to select from four different portals.
The correct portal is the one on the far-left, since it has this plaque: "The Nightsong is an immortal being, the child of a deity." If you attempt to interact with the other portals, your character will be downed.
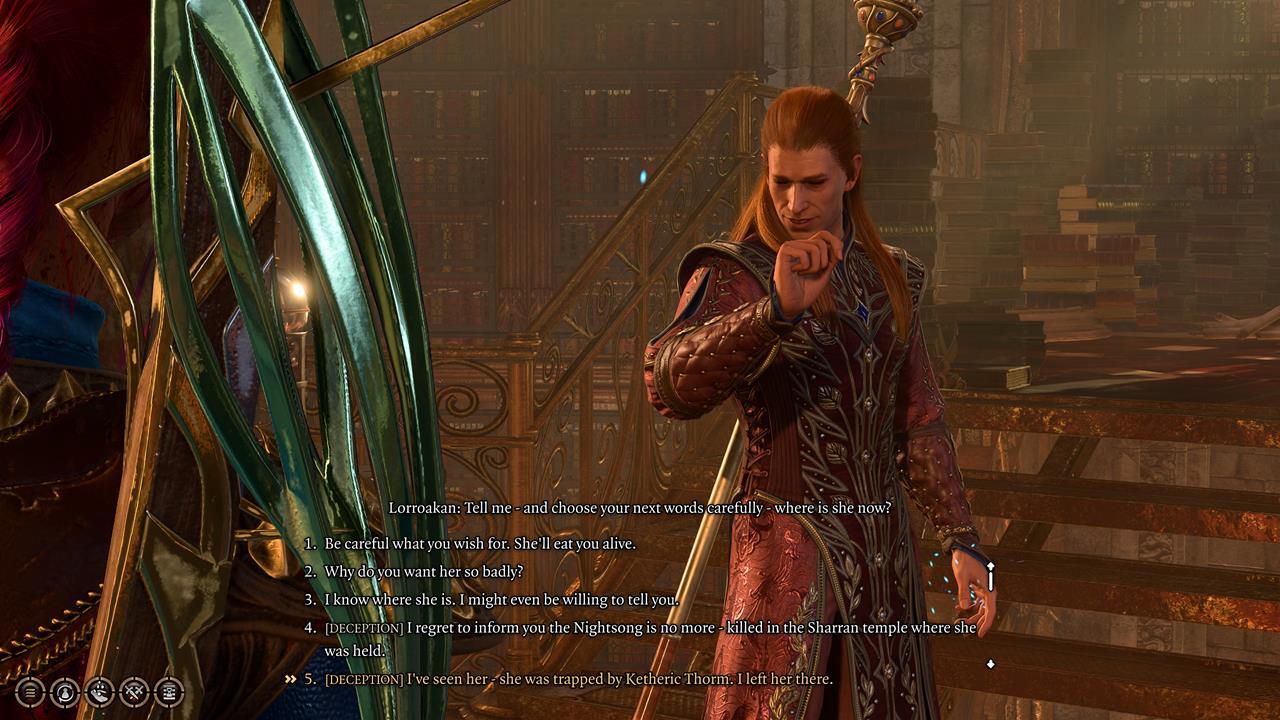
In any case, the Baldur's Gate 3 Nightsong or Lorroakan dilemma involves handing the winged Aasimar over to him:
- The other options will mean that Lorroakan becomes aware of Nightsong's location.
- The two Deception responses will cause this segment to end, since Lorroakan believes that the Nightsong is gone.
Dilemma: Give Nightsong to Lorroakan or Refuse
If you tell Lorroakan about Nightsong, he'll tell you to bring her to the tower. Here's what happens next:
- Return to your camp and talk to Nightsong (and Isobel). Dame Aylin flies off to serve Lorroakan a lesson.
- A potential bug may occur here if you take a while to return to the tower. Either Nightsong or Lorroakan is dead, as though the battle took place without you ever joining it. As such, it's better to head back to the tower after chatting with Dame Aylin.
Back in the tower, you're given three dialogue options:
- "It's over for you wizard" - This leads to a battle against Lorroakan and his elemental minions.
- The other two will lead to a fight against only Dame Aylin.
Rewards For Both Decisions
Side With Lorroakan and Fight Nightsong
This bout is very easy since Aylin will be on her own against numerous hostiles. You'll receive the following rewards:
- Inspiration: The Karsus of Our Times (Sage).
- Gather Your Allies: Ramazith's Tower - Lorroakan and his elemental constructs will be counted as allies.
- Bug #1: Although Lorroakan tells you that he's got a powerful reward, we didn't see anything handed out.
- Bug #2: It's possible not to receive an Inspiration point from this branch.
Side With Nightsong and Fight Lorroakan
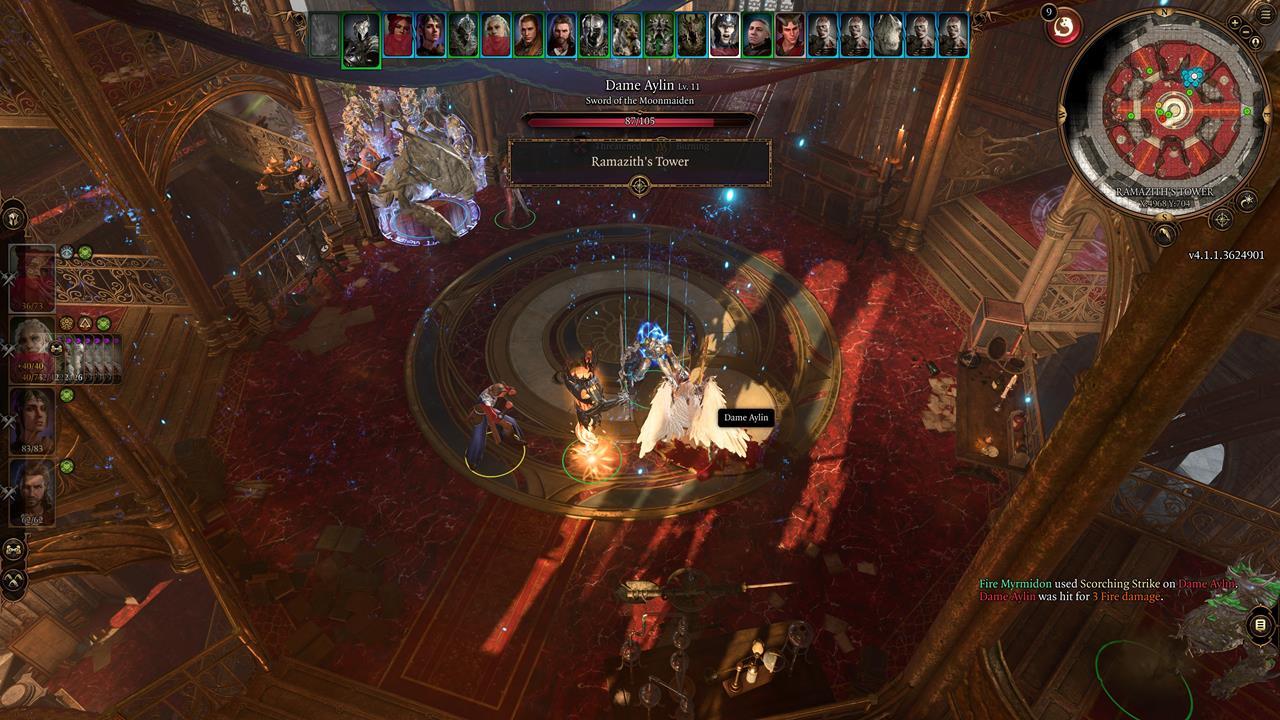
Fighting Lorroakan is tough due to all the enemies. Lorroakan has Elemental Retort, which causes 12-96 quad-elemental damage as retaliation when he's attacked. This can be nullified by Counterspell at rank 4 or higher. Without it, expect party members to die easily. His elementals also deal tremendous damage with their attacks.
Perhaps the worst part of the Baldur's Gate 3 Lorroakan boss fight is that your entire team will be bunched up together after emerging from the portal. Not only will it be harder to move around, but a lot of units are in danger of AoE spells. We suggest ungrouping your team and repositioning them in the tower, well before you send one character to talk to Nightsong back in your camp. Anyway, assuming you beat Lorroakan's forces, you'll gain the following:
- Inspiration: Stopping the Repetition of History (Sage); How High They Fall (Haunted One).
- Weapon: Despair of Athkala - 9-19 damage; +1 bonus to spell save DC and attack rolls; +2 weapon enchantment.
- Clothing: Shelter of Athkala - +10 AC; advantage on saving throws against spells; Mirror Image spell.
- Gather Your Allies: Nightsong and Isobel - Although Nightsong has been in your camp for quite some time, this completely guarantees that she and Isobel become your sworn allies.
- Bug: There's a possibility that you won't gain a single Inspiration point even after making this decision.
A badass cutscene also follows, where Nightsong casts Bane (you get the idea). Then, she and Isobel will temporarily leave the camp to help people in need. Still, they're both counted as part of the Gather Your Allies tally.
How to Get the Markoheshkir Legendary Weapon
Regardless of your decision, make your way to one of the tower's balconies. You'll notice a section in the lower area that can be reached, just don't jump immediately or your character will die. Instead, cast Feather Fall or Fly to reach the lower area. You can then jump through the window opening to the interior, or you can demolish a wooden board to create an entry point.
Either way, you'll notice several plinths. Whatever you do, don't press the one that says "Security," as that will cause Arcane Turrets to spawn. Instead, look for the one that takes you to the treasure room below. There, you'll see two items protected by magical barriers. You need to pass DC20 Arcana checks to deactivate them. Doing so nets you a couple of goodies.
Robe of the Weave
- Armor Class: 10
- Arcane Enchantment - +1 bonus to spell save and spell attack rolls.
- Weave Eater - Restore 1-6 HP whenever you succeed in a saving throw against a spell.
- +2 Armor Class
Markoheshkir (legendary quarterstaff)
- Effects: Damage - 1d8 (1d6) + 1 bludgeoning
- Arcane Enchantment - +1 bonus to spell save DC and spell attack rolls.
- Arcane Battery - The next spell you cast doesn't cost a spell slot.
- +2 weapon enchantment
- Spell: Kereska's Favor
How to Solve the Sorcerous Sundries Vault Puzzle in Baldur's Gate 3
The Baldur's Gate 3 Sorcerous Sundries shop can be found in the Lower City. It's one of the largest buildings in the area, adorned with colorful panes and entrance archway, so you can't miss it. Soon, you'll realize that the location hides many tomes and scrolls, including one that Gale desperately seeks.
Given that this is also part of Gale's Wizard of Waterdeep companion quest, you definitely want to bring him along. Moreover, you should have Astarion with you, or a character with a high Sleight of Hand skill, due to all the traps and locked containers that you'll stumble upon.
Sorcerous Sundries Vault Entrance
To enter the Baldur's Gate 3 Sorcerous Sundries Vault, you need to talk to the librarian, Tolna Tome-Monger. Ask her about forbidden books (make sure you're "whispering" when you respond). Select the option that lets you know more about the Crown of Karsus, and convince her to give you additional info. She'll reveal that there's a key in her room.
Tolna's room is on the second floor, just off to the side of Lorroakan's projection and sentries. You can get spotted here, so we suggest using the Greater Invisibility spell on Astarion, or anyone with high Stealth and Sleight of Hand.
Open the door with a lockpick, and quickly grab the Sorcerous Sundries Basement Chest Key on the desk. Then, quickly interact with a curious-looking book in the corner shelf, which will reveal a portal. Note that there's another key placed inside the shelf.
Your team needs to pass through the portal, though the sentry will likely discover you. This means you have to pass a DC22 check for various Charisma-based skills.
The Silverhand, Elminster, and Karsus Doors
If you succeed, you'll be able to go through the portal. The vault complex has several chests along the sides. You can walk up to them since the floor is magical. Be forewarned, however, that the place has numerous traps. We suggest ungrouping your team so Astarion can disarm traps without accidentally triggering them.
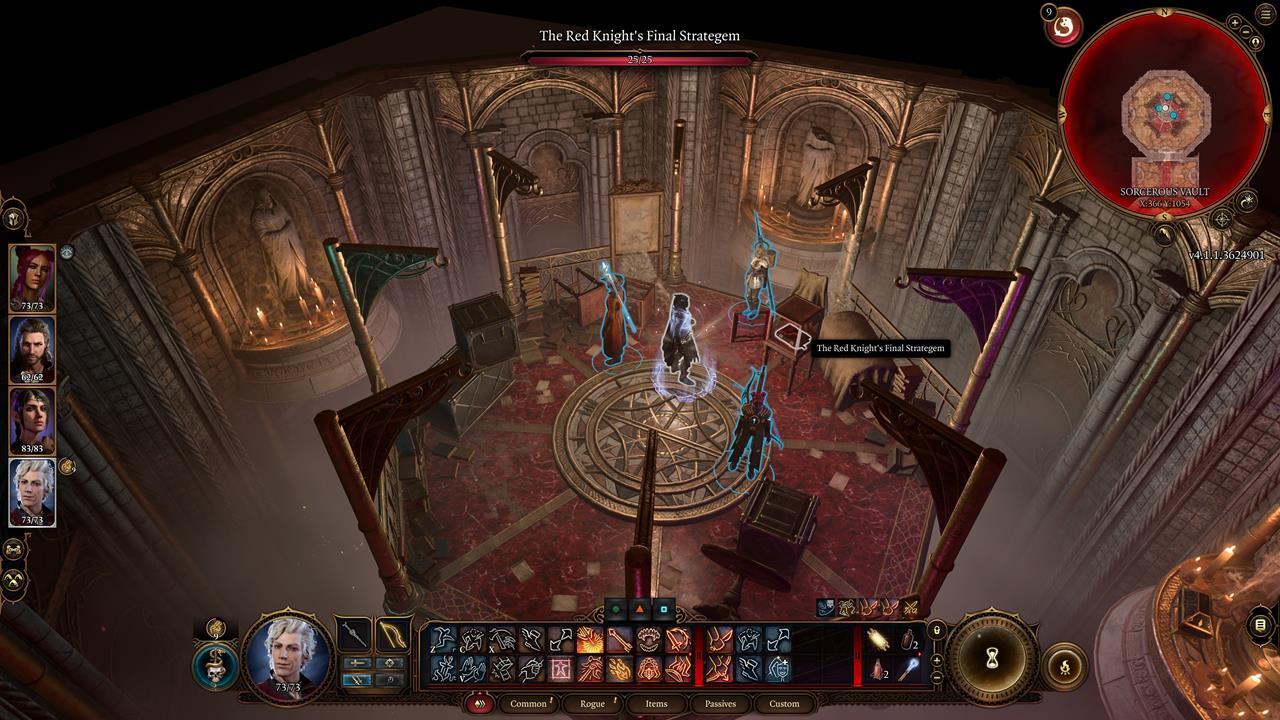
In the room at the back, you'll find The Red Knight's Final Strategem. This nets you a Scroll of Artistry of War: Summon six apparitions that strikes a target of your choosing, dealing 18-78 force damage.
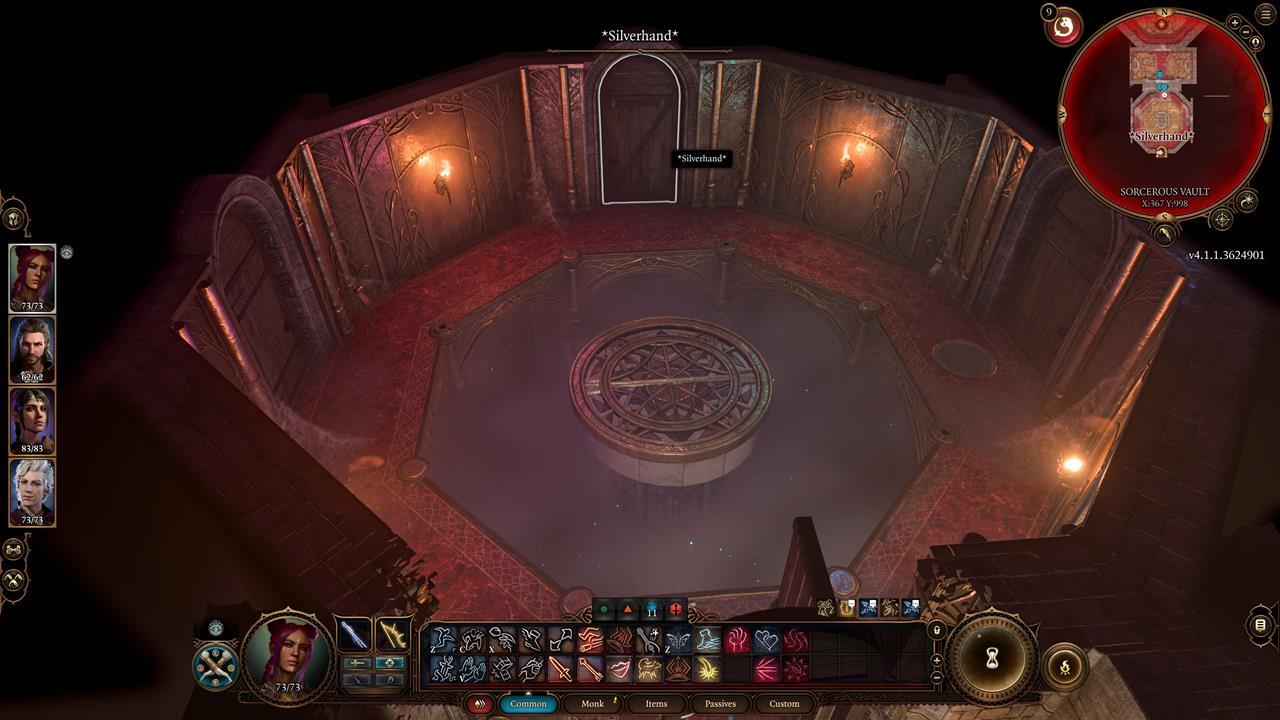
Next, if you head to the opposite section, you'll arrive at a chamber with three doors named after three powerful wizards: Silverhand, Elminster, and Karsus.
Only the Silverhand door is open, and the other two are locked. Upon entering it, you'll find yourself in another small room that's filled with traps. These can be disarmed manually, or by interacting with a lever on the wall. Moreover, passing through certain doors will lead you to a different area, akin to a simple maze.
Karsus Door: The Annals of Karsus
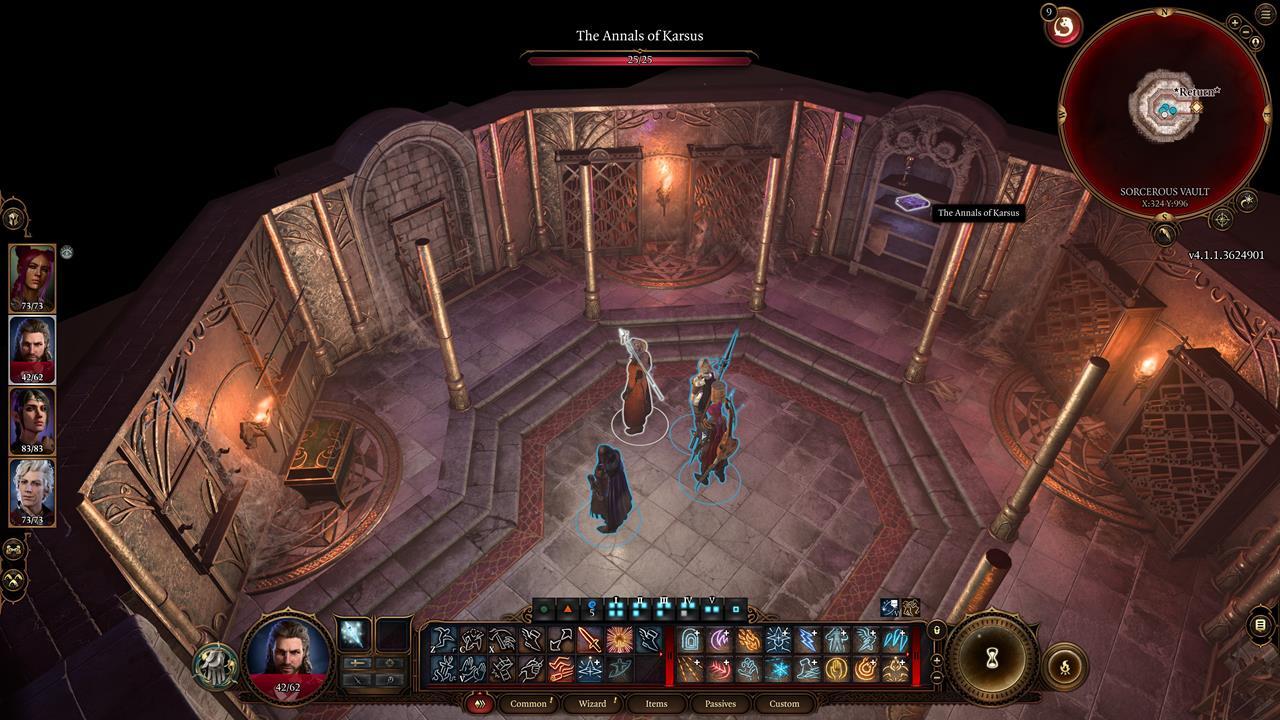
For this section of our Baldur's Gate 3 Sorcerous Sundries Vault guide, we look at how we can acquire the Annals of Karsus. This book is required to progress Gale's Wizard of Waterdeep quest. To obtain it, enter the Silverhand room, and go through the following doorways:
- Abjuration - This takes you to the next chamber.
- Silver - There's a corridor here that leads to a lever. Interact with it to unlock the Karsus door.
- Wild - Leave via this doorway to return to the entrance.
Enter Karsus' room to find several goodies:
- Foebreaker - Deals 3-13 damage; ignores bludgeoning resistance; +2 weapon enchantment; when you miss an attack, you still deal 1 point of bludgeoning damage.
- Scroll of Dethrone - Pull on the strands of the Weave to deal 30-80 damage.
Our main goal here, however, is the Annals of Karsus. This lets you learn of three artifacts that give untold power to their wielder: the Crown of Karsus, the Scepter of Karsus, and the Orb of Karsus.
You're also given three choices on what you'd do once you have these items. We suggest picking the third option--"Better not get ahead of yourself, the crown is still out of reach"--since it's going to take a while before we actually obtain that all-important item.
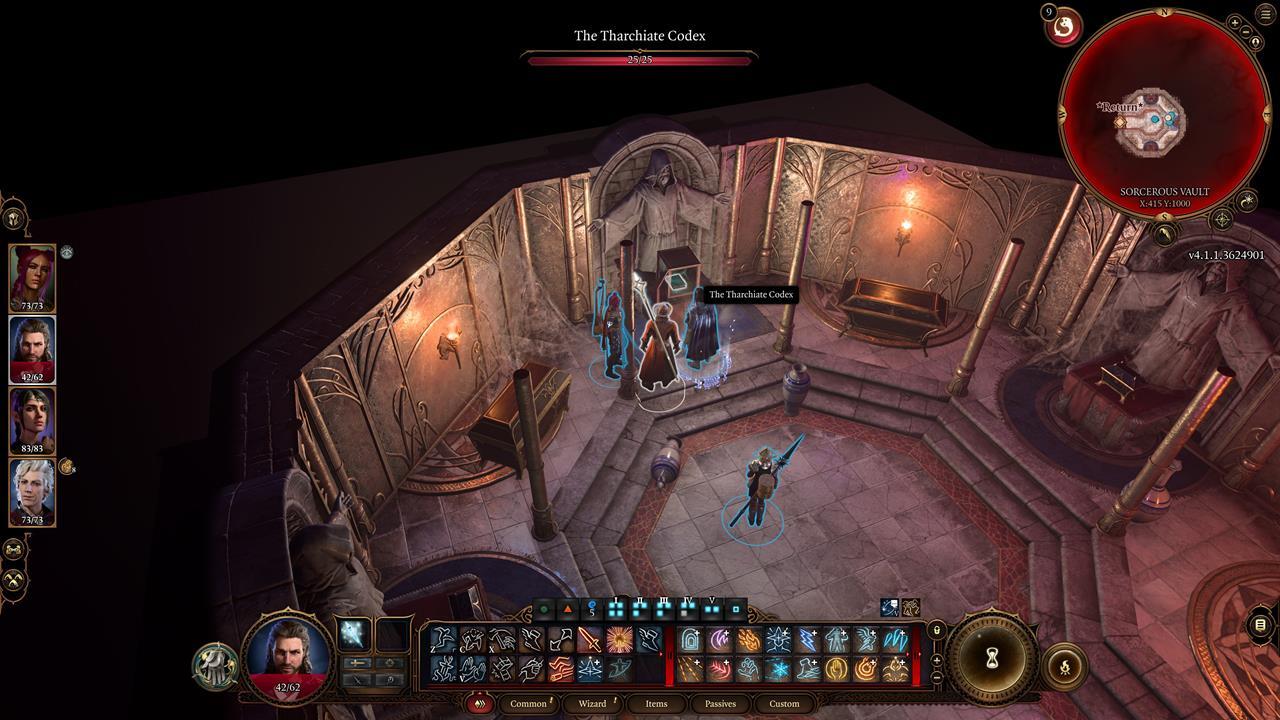
How to Remove the Tharchiate Withering Curse
Upon reading the codex, you're told of unrivaled magics to control the dead. Unfortunately, your chosen character is also afflicted with the Tharchiate Withering curse, which lowers their Constitution by 5 points.
Thankfully, you can cast Remove Curse on this character to nullify the effect. This grants the Tharchiate Vigor passive, which adds +20 temporary HP until your next long rest.
One last thing of note is that there might be some additional spells that are granted to your character automatically upon reading the codex. Unfortunately, we did not receive anything else at that exact moment. In any case, upon exiting the Baldur's Gate 3 Sorcerous Sundries Vault, you'll be greeted by Elminster, and he'll provide the next step in Gale's quest.
How to Romance Mizora in Baldur's Gate 3
For the Baldur's Gate 3 Mizora romance, we made sure that both Mizora and Wyll remained alive throughout our run. That's because the option for the love scene only appears during Act 3. Moreover, since Mizora isn't a companion, there's no indicator of an approval system (pertaining to her alone). Here's some info based on our playthrough:
- Shadowheart was our main squeeze, and she was fine with the outcome afterward. This may have been affected by having high approval with her, or a hidden flag that's different per character. This could be somewhat akin to the Halsin romance in that they're both okay with "sharing" your character.
- We can't say the same for other companions that you have a relationship with at this stage, as we're mostly "locked in" the Shadowheart romance with high approval. For instance, would Karlach, Gale, Lae'zel, or Astarion be happy with your choice?
- A scenario that we've yet to confirm is one where Wyll is your main squeeze. In our playthrough, Wyll simply disapproved of the romance--Mizora is his tormentor and has had him pact-bound, after all--but he stayed with the group. However, since Wyll wasn't our character's lover, we can't confirm if a sinful tryst with Mizora automatically ends the relationship.
How to Start the Mizora Romance
Here's a quick summary of the other decisions we made during our playthrough:
- Act 1: In the Druid Grove, we saved the Tiefling refugees. If you slaughter the good folks, Wyll ends up leaving your party forever.
- Act 2: Upon reaching Moonrise Towers, we agreed to help Mizora find Zariel's Asset. It turns out that she is the asset, and she's just sending a projection so you can help her. You'll find Mizora trapped in a pod in the Mind Flayer Colony as you're chasing after Ketheric Thorm. Pick the Strength or "unleash" options to free her.
- Act 3: Upon reaching Wyrm's Rock Fortress, avoid fighting Gortash immediately (you'll just get trounced). Talk to Mizora afterward, and she'll appear in your camp.
Love Scene: The Flavors of Hell
Mizora gives Wyll an ultimatum on what he should do to protect a loved one. Regardless of your decision, Mizora will stay in your camp. Don't make her leave, and just talk to her after a couple of long rests. You might see an exclamation point, which means there's an important conversation.
Mizora will tempt you with a proposition. You can always choose to decline. In fact, there are responses that cause your character to stop the whole scene altogether. But, if you want to see the Baldur's Gate 3 Mizora romance in full, you'll want to pick the appropriate responses:
- When you talk to her in camp, choose: "Sounds delicious. What are you suggesting?"
- Accept the offer and do a long rest. At night, your character will be held inside a demonic circle.
- Choose: "Bask in the powerful sensations," followed by: "I'm ready," or "Sigh and brace yourself."
- You can pick either "Gorge on the river" or "Take a tentative sip."
Character Creation Picks
Best Race and Sub-race
Due to changes to the character creation mechanics, the Baldur's Gate 3 Cleric has multiple races that are viable in the long run. However, for the purposes of our guide, we opted a baseline Human. This is due to weapon proficiencies that are more in-line with a Cleric's armaments, as well as extra skill proficiency:
- Base Racial Speed - Nine meters.
- Civil Militia - Weapon proficiency for spears, pikes, halberds, and glaives; armor proficiency with light armor and shields.
- Human Versatility - Select an additional skill to be proficient in; increases your carry capacity.
The Wood Half-Elf is also a good option due to its perks:
- Base Racial Speed - Nine meters.
- Civil Militia - Weapon proficiency for spears, pikes, halberds, and glaives; armor proficiency with light armor and shields.
- Darkvision - Can see in the dark up to 12 meters.
- Fey Ancestry - Advantage on saving throws against being charmed; magic can't put you to sleep.
- Sub-race Perk: Fleet of Foot - Movement is increased by 1.5 meters.
Best Background and Skills
Your choice of background for your Baldur's Gate 3 Cleric mostly boils down to personal preference. Ideally, you'll want to make use of those that rely on Wisdom, the class' preferred stat. Examples include:
- Acolyte - Insight (WIS) and Religion (INT).
- Folk Hero - Animal Handling (WIS) and Survival (WIS).
- Guild Artisan - Insight (WIS) and Persuasion (CHA).
- Outlander - Athletics (STR) and Survival (WIS).
Best Abilities.
The Cleric's primary spellcasting stat is Wisdom. However, Dexterity and Constitution are also important. The former is to improve armor class and initiative, while the latter increases your HP. Moreover, high constitution also affects your concentration when certain spells have lingering/prolonged effects in battle. Ideally, you ought to have this stat distribution:
- Strength: 8
- Dexterity: 14 or 15
- Constitution: 16 - Keep this high to maximize concentration effects.
- Intelligence: 8
- Wisdom: 17 - You can earn +2 points via the Ability Improvement feat, as well as an extra point by defeating Auntie Ethel.
- Charisma: 8 or 10.


